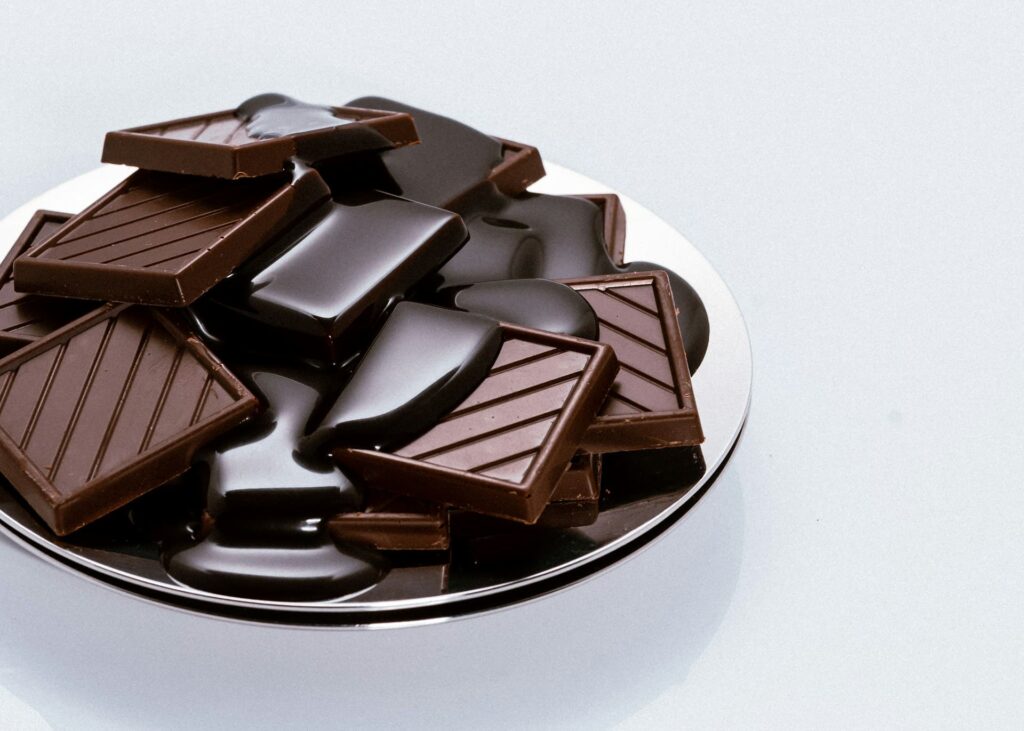
The Sweet Science of Tempering
Tip 1
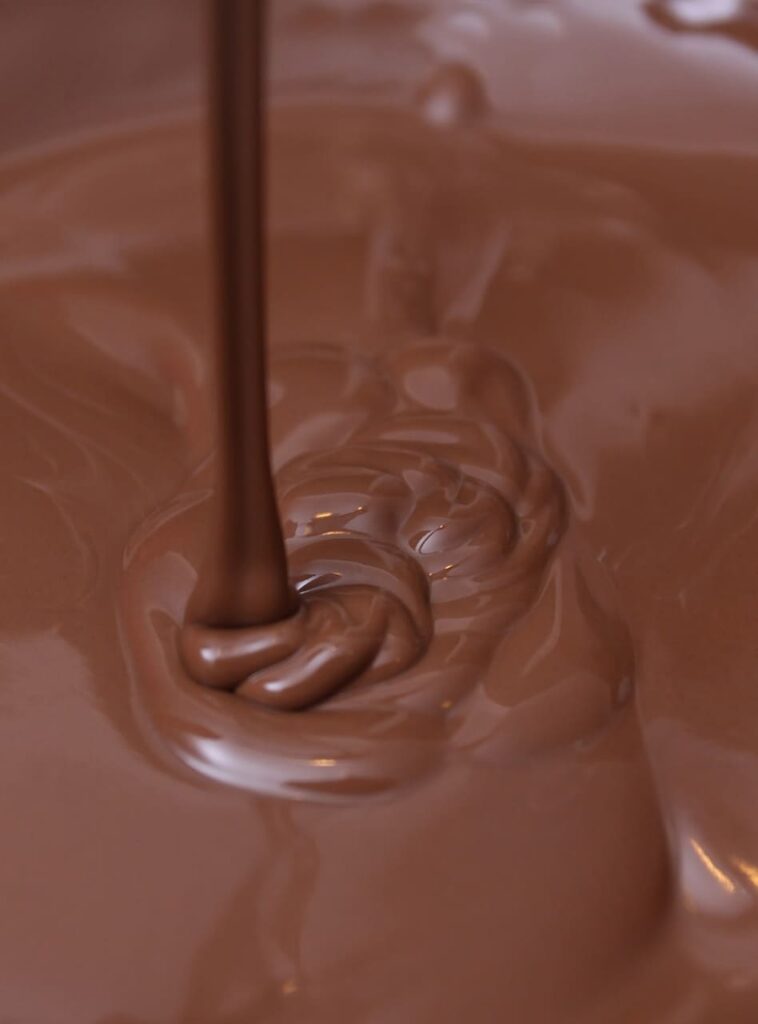
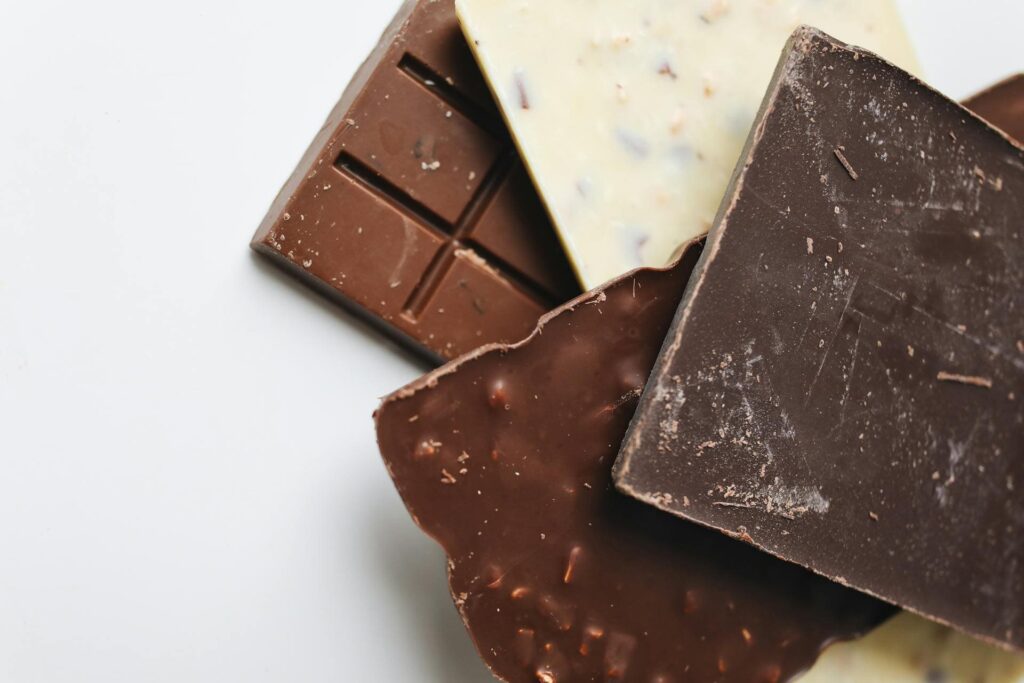
Tempering is the cornerstone of mastering chocolate for desserts. This precise process involves melting and cooling chocolate to align the cocoa butter crystals, resulting in a glossy appearance, a crisp snap, and a stable texture. Properly tempered chocolate resists melting at room temperature and enhances the structure of dessert components like shells, decorations, or coated treats. Use a food thermometer for accuracy, and follow the temperature ranges specific to the chocolate type: dark chocolate (88-90°F/31-32°C), milk chocolate (86-88°F/30-31°C), and white chocolate (80-82°F/27-28°C). It takes practice, but mastering tempering will elevate your creations from homemade to patisserie-level perfection.
The Right Bite: Selecting Chocolate for Every Dessert
Tip 2
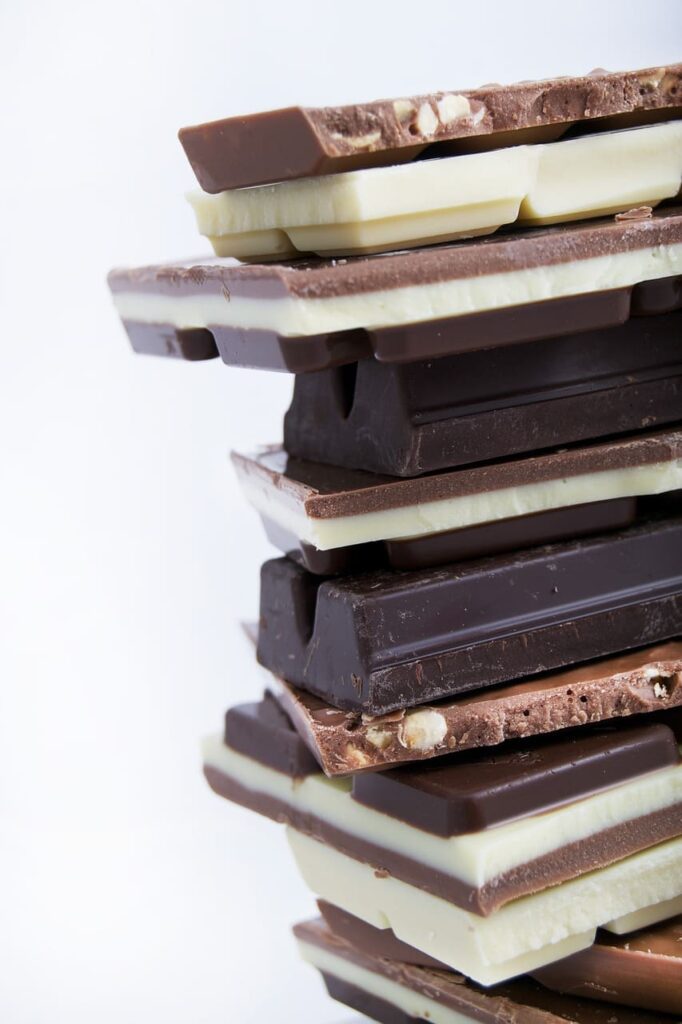
Selecting the right chocolate for your dessert is as important as choosing the right spices for a savory dish. Dark chocolate with a high cocoa percentage (70% or more) offers a bold, bittersweet flavor perfect for rich desserts like mousse or ganache. Milk chocolate brings creaminess and sweetness, ideal for softer flavors like caramel or fruit. White chocolate, though technically not chocolate, provides a buttery base that pairs beautifully with citrus, berries, and exotic spices. Always opt for high-quality chocolate that melts evenly, has a smooth texture, and complements your recipe. The right chocolate will enhance your dessert’s flavor complexity and richness, making every bite unforgettable.
Slow and Steady: Melting Chocolate Without Drama
Tip 3
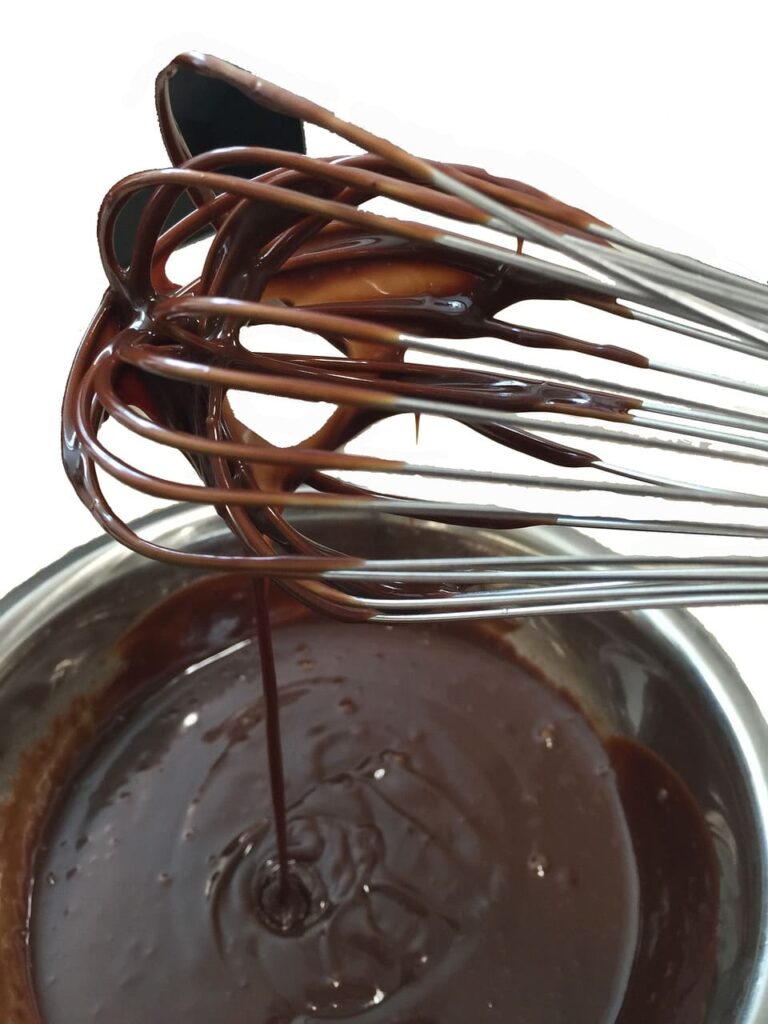
Melting chocolate seems straightforward, but one misstep can lead to a gritty, clumpy disaster. Chocolate is sensitive to heat, so always use gentle methods. A double boiler ensures even heat distribution, preventing scorching, while a microwave can be used in short, 15-second bursts with frequent stirring. When mastering chocolate for desserts, it is essential to avoid contact with water or steam, as even a drop can seize the chocolate, turning it into a stiff, unusable mass. For a silky, lump-free result, chop chocolate into uniform pieces before melting. This step ensures your chocolate is ready for dipping, drizzling, or folding into batters without compromising its texture or flavor.
The Perfect Shell: Chocolate Coating Tips for Desserts
Tip 4
Creating a flawless chocolate shell is an art that adds a professional touch to your desserts. Start with tempered chocolate to achieve a glossy finish and an audible snap. Coat molds evenly, tapping out air bubbles to avoid imperfections. Allow the first layer to set before adding additional layers for strength, especially when making filled chocolates or bonbons. Once the shell is firm, it can be filled with ganache, caramel, or mousse for a delightful surprise. Mastering this technique transforms simple desserts into elegant creations, elevating your skills as a chocolatier.
Gloss Goals: The Secret to Shiny Chocolate
Tip 5
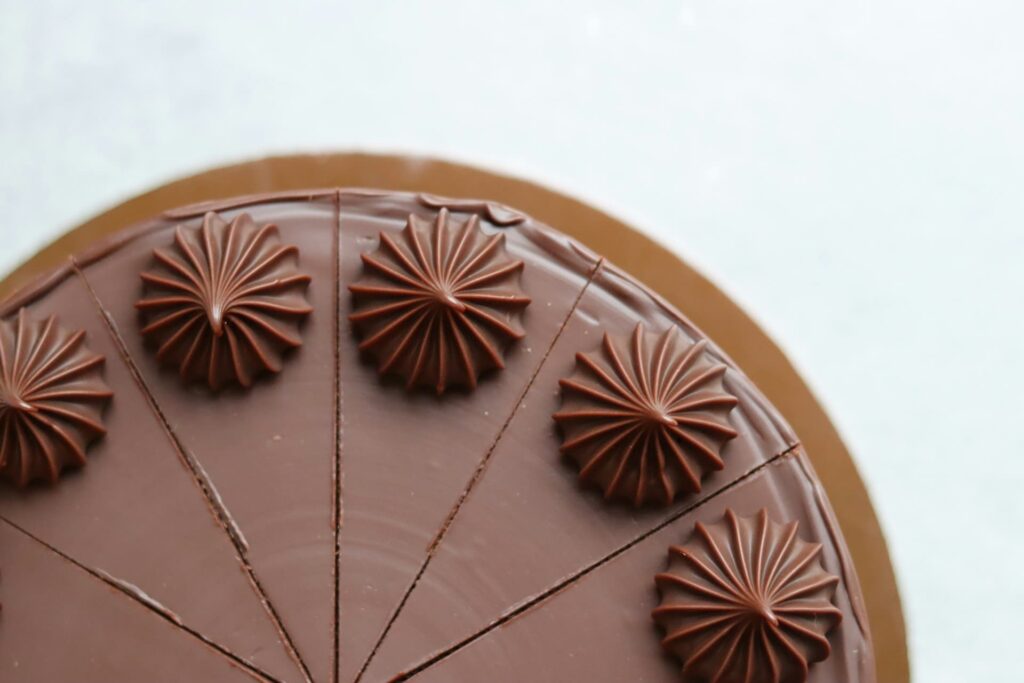
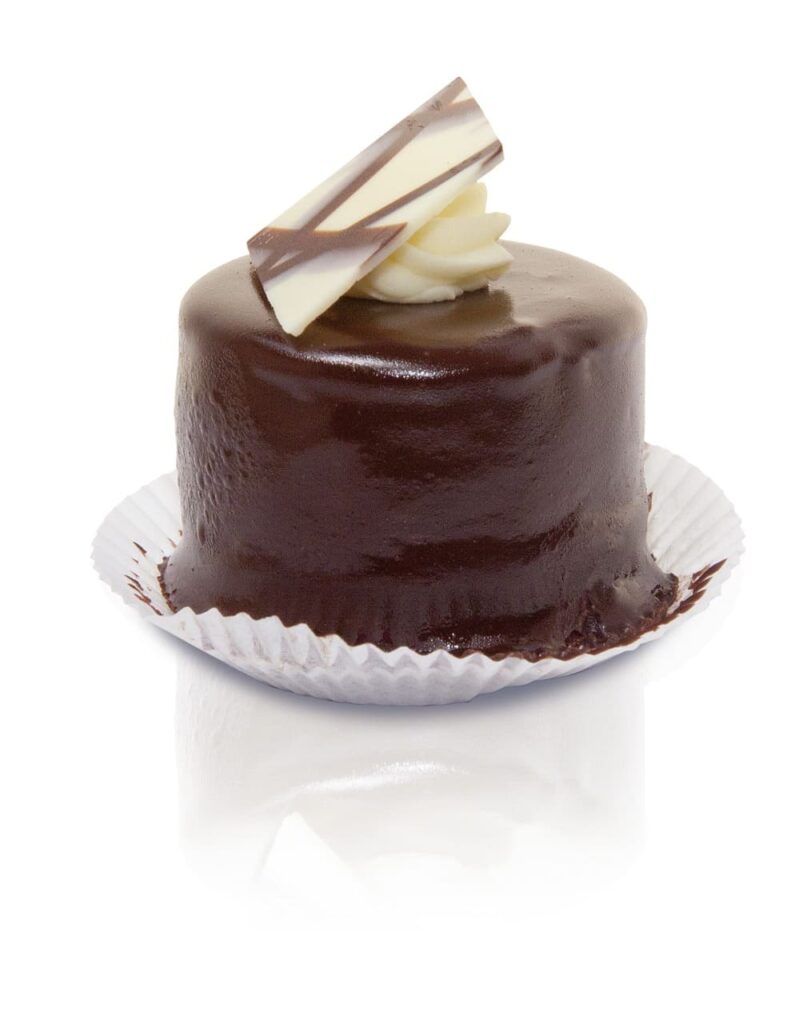
There is nothing more enticing than the perfect finish of tempered chocolate on a cake or tart. Here is the glossy secret to mastering chocolate for desserts to achieve the perfect shine. To enhance this lustrous effect, use high-quality chocolate with a high cocoa butter content. You can also lightly brush set chocolate with melted cocoa butter or edible luster dust for an extra dazzling touch. Whether it is a ganache glaze cascading down a cake or delicate chocolate curls, achieving a beautiful shine elevates the visual appeal and gives your desserts a luxurious, polished look.

Texture Matters: Balancing Crunch and Cream
Tip 6
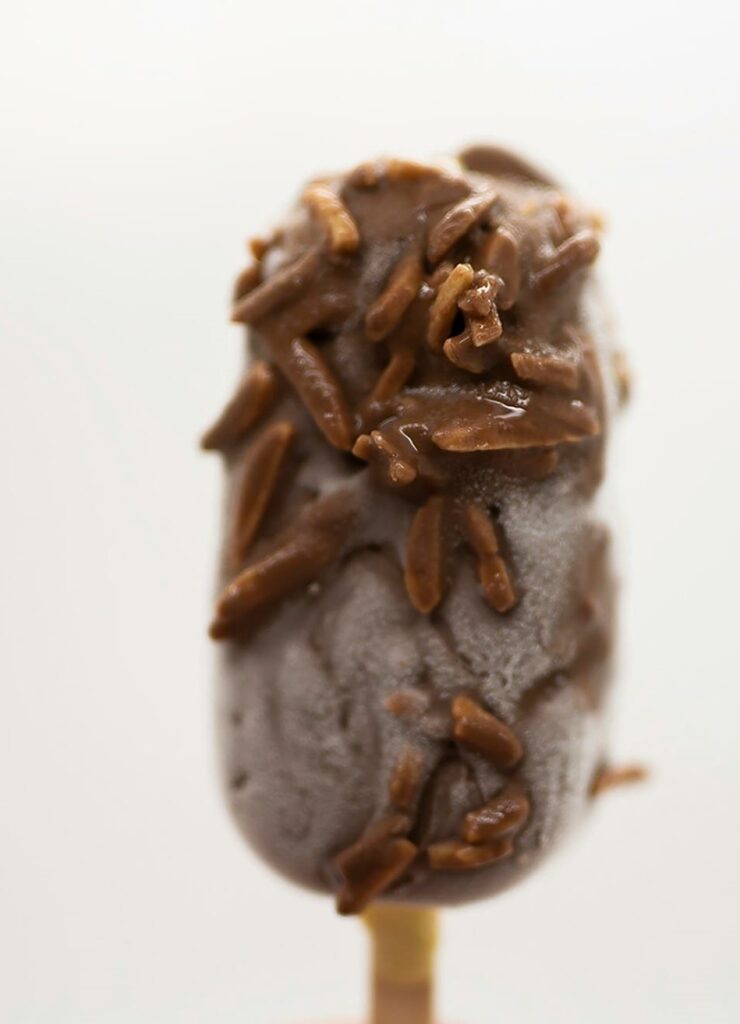
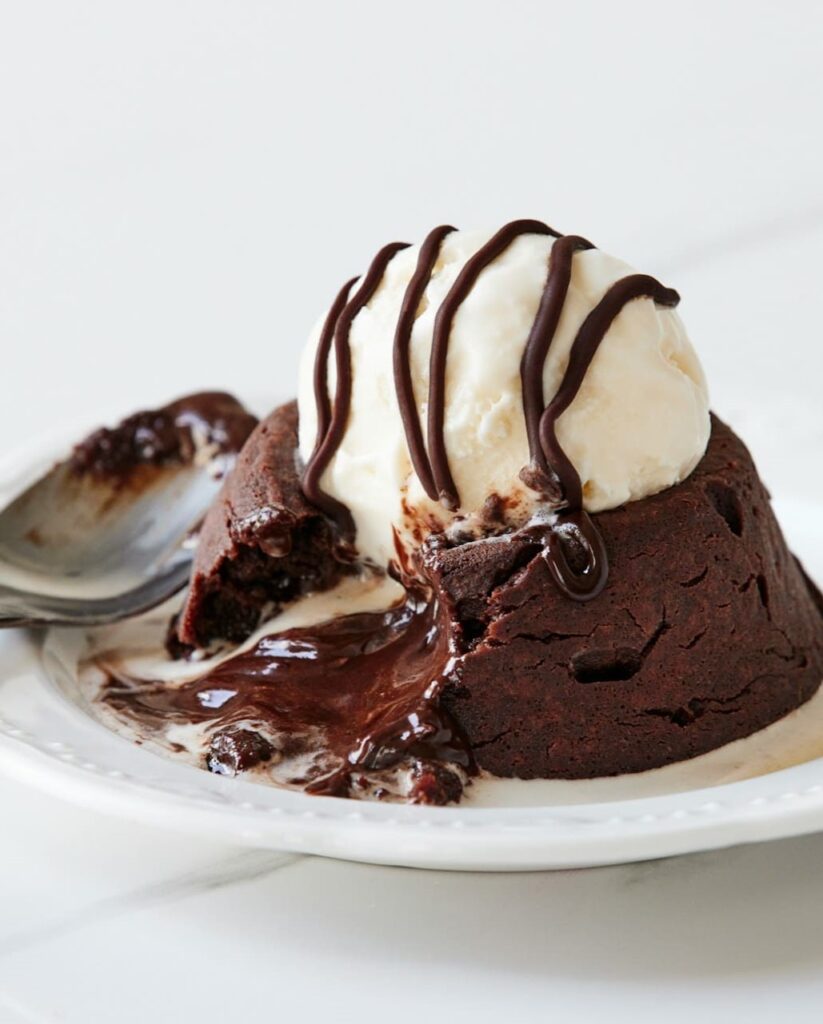
The magic of chocolate in desserts lies in its ability to create textural contrasts. A well-balanced dessert uses chocolate to provide crunch, creaminess, or both. Incorporate crisp elements like chocolate-coated nuts, shards, or pralines for a satisfying bite. Pair these with silky smooth textures like ganache, mousse, or molten chocolate centers to create a harmonious experience. Paying attention to texture not only enhances the sensory appeal of your dessert but also adds depth and complexity that keeps each bite interesting and irresistible.
Flavor Fusion: Adding Depth to Chocolate Desserts
Tip 7
Adding complementary flavors to chocolate desserts can elevate them from delicious to unforgettable. Infuse cream with coffee, vanilla, citrus zest, or spices like cinnamon or cardamom before incorporating it into melted chocolate for ganache or sauces. You can also melt chocolate with a touch of liqueur, such as Grand Marnier or Amaretto, for an added layer of sophistication. This infusion technique allows you to tailor your chocolate to the flavor profile of the dessert, making it a versatile canvas for culinary creativity.
Cool and Collected: The Right Way to Set Chocolate
Tip 8
Cooling chocolate may seem simple, but it is a critical step in achieving the desired texture and appearance. Rushing the process by placing chocolate in the refrigerator can cause streaks or dullness due to moisture condensation. Instead, allow tempered chocolate to set in a cool, dry place with stable temperatures. This gradual cooling process ensures the chocolate retains its shine and structure. For filled desserts, like bonbons or tarts, proper cooling helps maintain the integrity of the filling while achieving a professional-looking finish.
Pipe it Right: Chocolate Garnishes for Every Occasion
Tip 9
Chocolate is not just an ingredient; it is an artistic tool for decorating desserts. Melted chocolate can be piped into intricate shapes, letters, or patterns for cakes and pastries. Drizzling chocolate over cookies or ice cream adds a touch of elegance. Use feathering techniques by dragging a toothpick through lines of white and dark chocolate for a marbled effect. These decorative techniques are not only visually impressive but also introduce additional layers of chocolate flavor, making your desserts as beautiful as they are delicious.
Play with Cocoa: Gaining Confidence with Chocolate
Tip 10
Mastering chocolate for desserts is as much about creativity as it is about precision. Start with simple projects, such as dipping strawberries or making ganache, and build your skills gradually. Experiment with new techniques, like tempering or making chocolate curls, and do not fear mistakes—they are valuable learning experiences. The more you practice, the more intuitive working with chocolate becomes. Over time, you will gain the confidence to try complex recipes and create signature desserts that showcase your unique style and love for chocolate.
